How learning Unity made me a better Designer
What is Unity?
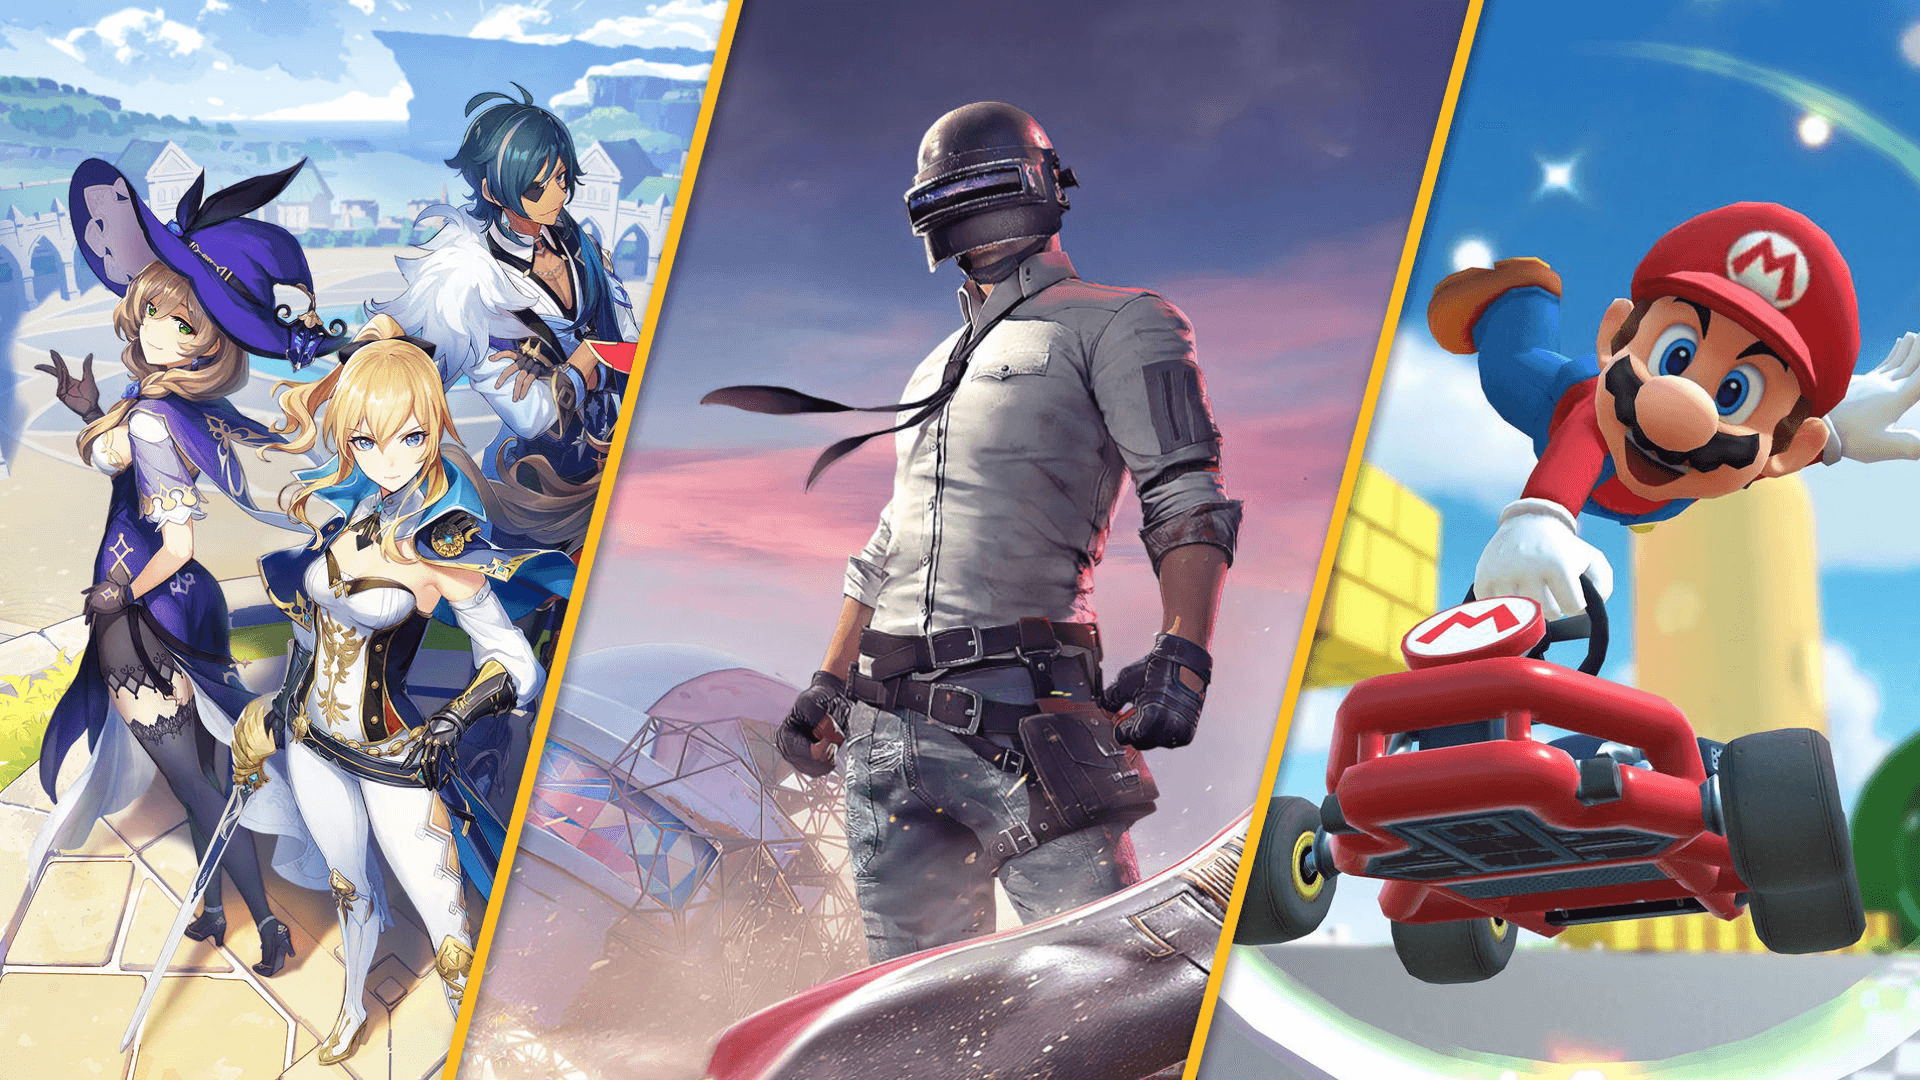
Unity is a 2D/2.5D/3D engine and framework that allows you to create. Unity is mostly known as a gamers tool but it has been used for various apps, including training simulators. Using a combination of assets and code it enables the user to create worlds. It's been used for huge games too, such as Ori and the Blind Forest, Monument Valley and Hollow Knight. Having been an avid gamer myself since being a kid, Unity is something that I'm naturally passionate about and can spend hours learning due to me interests in creating games.
On the surface, it's a tool to make games. But underneath that is also a huge asset management system which allows designers and artists to create a space to store their assets which are usually created via various tools (such as Photoshop or Blender.) This is one of its more powerful areas - the Unity Asset Store. A storage facility for all your assets, artwork, audio, 3D models and animations. Like with other tools, asset stores are becoming increasingly popular - even UX tools have these huge stores where you can get access to many components and Plugin (such as Figma.) Unity is similar to this. It's a huge community of people who push assets to the store - part of it's power is in its huge community.
Why did I choose to learn Unity?
It was 2014 and I had a role as a designer and artist in a start-up Psychometric Games company. We were building small games for all platforms - mostly puzzle. I learned Unity myself in my spare time at first out of a curious passion - but then quickly realised how much better I could speak with Engineers if I understand their tools. It would mean I could produce designs that understood limits and constraints with Unity and be active in discussions around the backend, as well as frontend engineering.
However, when I left after 5 years there, I still chose to learn it in my spare time. I found it was an easy outlet to learn code as I'm a believer in understanding the tools used by other members of your team. It's easy to get caught up and learn only UX tools like XD, Sketch and Figma and not take a look at what's going on around you. Are the engineers using C#, Python or Javascript? What impacts are you having on their backend with your frontend designs? It's not a case of Designers learning code to code - it's that designers should at least understand how code works. It puts you in a powerful position when producing designs because you can understand how they will be built and be more active in conversations surrounding the build. I've been in situations early in my career where I was put on the spot with a design as I didn't fully understand the tech constraints and had to go back to the drawing board to refine and iterate.
So, I partly chose Unity as a way to learn code with something that interested me personally. I wouldn't be making the next God Of War game, but I'd be creating something that would help me level up my code knowledge. But as a Designers - where do you start?
Getting started!
You can download a free version of Unity but ensure you get the most up to date version. There's two options - free and pro. For learning and tutorials the free version is more than enough. The Editor runs on Windows and OS. You write code in C#, JavaScript (UnityScript) and can use mono or the Microsoft alternative. Upon opening Unity you'll be greeted with a tutorial which can see you making games from a couple of options depending on your interests. To code you'll also want Visual Studio Code.
All the tutorials are interesting in their own way and the goal is to make a very basic game. There's a huge community - youtube has a ton of great tutorial like this one.
Asset management
Asset management is when you bring in the elements that build up your scene - whether you take them from Photoshop or Blender - a 3D image of a fox or a 2D interface - this is all stored and managed here. Projects contain assets in folders - such as your character models, music or environment. It's key to organise this - like with Figma and organisation in layers, you need to be able to navigate around it. A basic folder structure could look like;
Character
Audio
Environment
You can import assets which is what you usually want to do. It's important to remember to not make changes to the file system directly, but rather doing them in the Unity interface. It's kind've like how with design you shouldn't be making the changes at component level - but at the master component level.
Essentially, it brings all your assets from other tools - audio/models/etc and brings them to one place where you can assemble and create a world.

Game Objects, Components and Prefabs
Main interaction is with your game objects. You add pieces to this container to make a tree, sound or character/etc. A component is what you add to a game object. You can add various components to a game object - it's kind've like an empty cooking pot and the components are the ingredients. Components are similar to what you'd get in Figma - building up components in a sense to get a modal or a dashboard.
A prefab is a special type of component for reuse purposes. I think of this like how in a UX Design System you build out any components you wish to reuse to retain consistency - this is a similar idea. Anything that you may reuse, such as a tree or a cloud you can create as a prefab. This means that if you have a hundred clouds in your game and want to change the colour - you can change the master prefab and it changes all the other components within that prefab rather than doing each one manually. Think of it like a component you change at the master level, rather than changing it any every prototype.

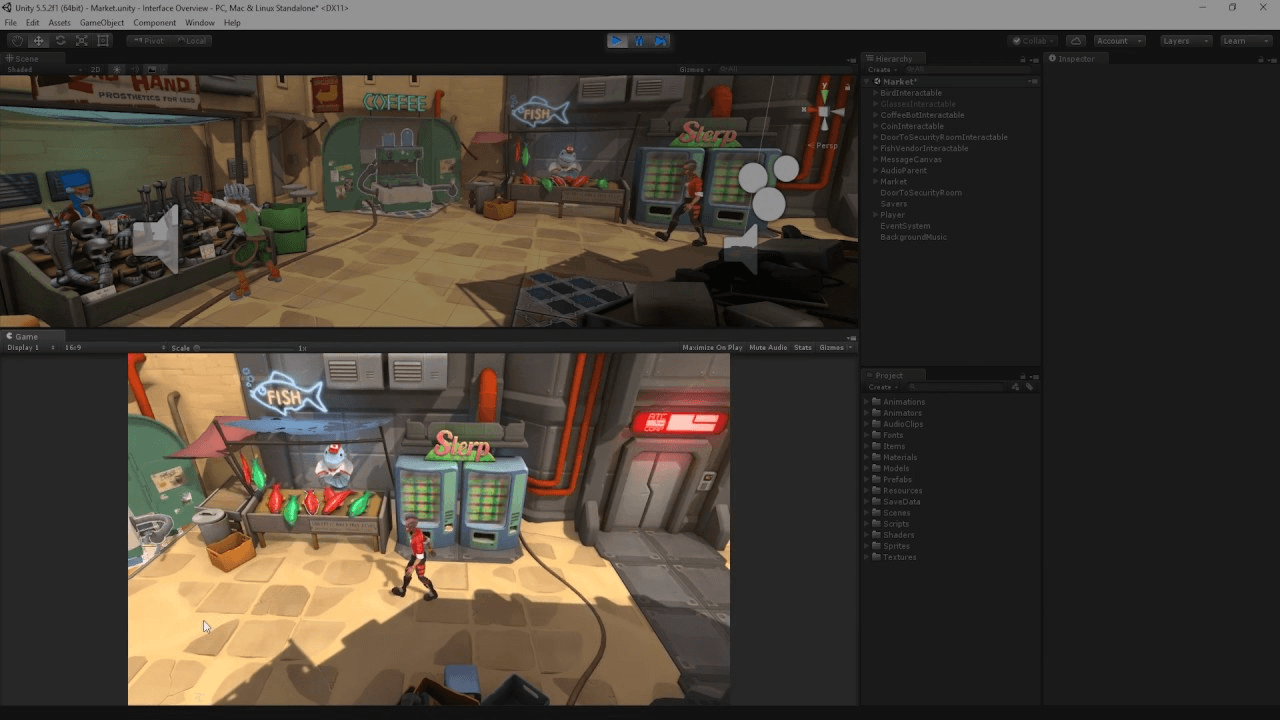
Scenes & Toolbar
The scene is where you game exists. You drag and drop assets, build levels and create the interface. Think of it like your building area - where you have all these assets and now you can assemble them together to make your game.
It's almost like the window to your game. If you press 'play' you can see how the game will look and play. If you're in the edit mode, you can build up your levels. Figma is similar in the sense that you build your prototype in the 'editor mode' and then view the end result in 'play mode'. Depending on 3D/2D you will get a different type of scene to work in.
Toolbar at the top is similar to other editing software - you can make changes here like moving and rotating game objects.

Inspector & Hierarchy
Like with most UX tools, you get an inspector part. This allows you to make changes to size, position, rotation and a whole list of thing functionalities. Like with Figma, it's a means of editing your components/etc. Editing via the inspector is much more exact than trying to eye ball it. For example, if you want a ball to drop on a block - doing this via the inspector ensures they impact and the ball doesn't just miss the block entirely.
On the other side of the scene you have the Hierarchy which is like a layers panels. When assets are dragged on screen this is where they go so you can select them in the scene. As with layers from all software (Photoshop, Figma/etc) it's best to keep these clean and tidy as:
They should follow a naming convention so it's easy to find things. If your character is called 203984 it will be difficult to locate, just like with any layering system.
You can end up with a lot of layers if you're not careful making finding things painful.
Coding
You need to install Visual Studio Code which is where you'll be inputting all of your code to bring your assets to life. Writing code is usually in C# or JavaScript. Things like Webflow use Javascript - so if you're someone with a bit of coding knowledge you should have a head start. Also researching basics in;
Physics
Coding languages
Packages and plugins
I'd recommend C# as it's most adaptable. It's good to learn this via tutorials on youtube as and when you need things to happen. For example, you want a ball to bounce on a platform > create a folder for scripts > create script > and label it 'ball' > this opens visual studio where you can begin writing code. A note - coding is trial and error. It involves a lot of go between in terms of playing your scene and seeing how or if it works. Like with design systems, naming conventions are very key here - naming things incorrectly can result in errors.
Use code to:
Control your objects
Bring in game logic
When you've coded you can then test that code and QA it. If you want to speed up any of the process you can use assets from the many stores or resources online. I find learning to code this way very easy as it's so rewarding - to be able to create a game and consider things like physics, hit points and movement is very fascinating to me. It's a very visual result to learn code and you get invested in building something fun, creative and usable. You'll find ourself organically creating code to do things like > can I have a gem I collect? > What's the trigger point for this gem? How do I collect it instead of hit or miss it? Does this have an animation or add to a score? As you create more of your world you'll be looking at new ways to improve and enhance the experience.
Plug-ins
When coding, you have a few options. You can code it yourself or you can use a plug-in. There are two types of plug-ins - managed and native. You can drag and drop these in to your folders. Unity can recognise plug-ins. There's a difference between managed and native which can be found here.
Other UX tools have plug-ins to help move things a long quicker and assist you in whatever you're creating.

The Purposeful Design of Unity
Having worked in film makers software where the screen needs to be the most important part - the slick grey, dull white and general dark tones are all there to not distract from your scene view. Having lots of colours in the interface can take a way from your scene - for instance, having a green interface can really mess with the colours of the scene view so you want to avoid colours for the most part. This is what Unity has done to not conflict with your game colours and surroundings.
It makes it very easy to organise - like with Figma/Webflow/etc it has very specific areas for editing, assets and layers. It's simple to create a folder or rename a sprite - Although I'm not sure how scalable this is once you're creating a big game. I'm used to making smaller games which are easy to keep in check - but I do wonder how it works when;
You've got a huge game like Fire Watch. How is this managed?
I've seen it used for more basic VR experiences - but would love to see how it works with games like Beat Sabre.
The tutorials and on-boarding are all great to get you up to speed. There's no long paragraphs describing how to use - but rather you're partly thrown in at the deep end to just create a basic game from the start. It's step-by-step tutorial which shows users around the whole interface which is much more rewarding to do rather than read how to do. The Unity hub is a great place to learn and keep track of it - it even has recommendations which I assume knows your level based on where you are in Unity and recommends based on that. Like with all great creative tools it has a community - its community is probably one of it's more powerful aspects. It means if a user runs into issues they can ask a forum or check youtube and find answers via the community. This just increases the ease of use overall.
As a UX Designer learning Unity - I really feel there's a lot of similarities between UX/Adobe tools. If you're familiar with any of these, you should find it easier. The main set up of a view where you add and alter assets is very much inline with prototyping. Even prefabs are similar to a component library - so it has been easy for me to understand what specific objects would be a prefab over a regular object as I've worked with the consideration of 'what is reusable?'
Still to Learn and Discover
Unity has many new features on the horizon that I'm hoping to stay up to date with. Such as;
More features to the UI took kit to enhance design aspects.
New brushes and terrain workflows.
Facial animations and lighting.
Unity Virtual Camera - live takes and play back instantly.
Still to learn;
Exploring the VR and AR capabilities.
Continue learning code.
Get back to learning 3D asset creation tools - such as Blender.